

How to Try out Windows 11 with a Virtual Machine

I'm a coder, blogger, and training architect for Kode Kloud. Follow me for content related to development and cloud.
Want to try out Windows 11? Don't want to risk wiping out your computer? Today we're going to show you how to install Windows 11 risk-free on a virtual machine.
Microsoft released Windows 11 in October, and it's getting great reviews. There are a lot of exciting things about this new version of Windows.
Here's how you can set it up risk-free on a virtual machine. We're using Virtual Box for this, which is a free download. It's an excellent virtualization solution for experimenting with operating systems.
One great thing about Virtual Box: you can run it in Windows, OSX, or Linux and these instructions will be the same. Let's get started.
Specifications
To install Windows 11, your computer must meet these specifications.
In addition, this isn't a standard install like most versions of Windows. You can't just download an ISO and run it. This is because of Secure boot specifications that must be met for Windows 11. There are a few solutions out there and special ISOs you can download, but the method in this article is the simplest way I've found to do it.
To Get Started
Download and install Virtual Box for your operating system.
Download Windows 11 here: Windows 11 Download. If you're a member of Windows Insiders you can also get a copy in the member's area.
If you have purchased Windows 11, make sure to use the key in the installation process. You can install it without a key, but it will only work for a limited time.
Create Your Machine
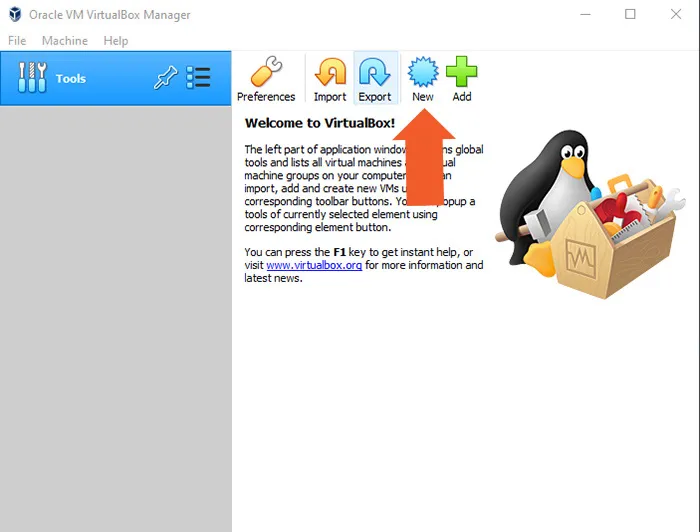
Start up Virtual box and click "new" to create a new Virtual machine.
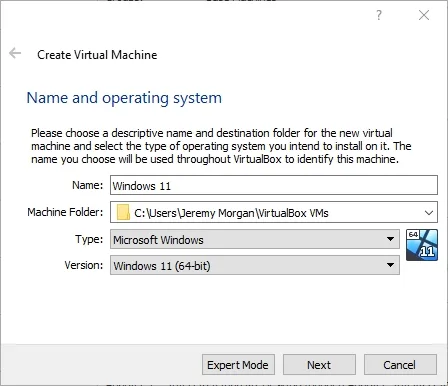
Create a name for it and a location to install to. For Type, select Microsoft Windows, and Version "Windows 11 (64-bit)"
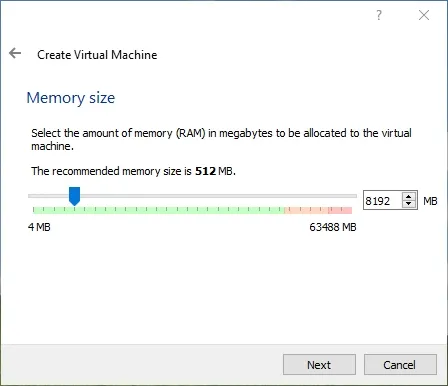
Here you will select how much memory you'd like to allocate. Select at least 4GB at a minimum.
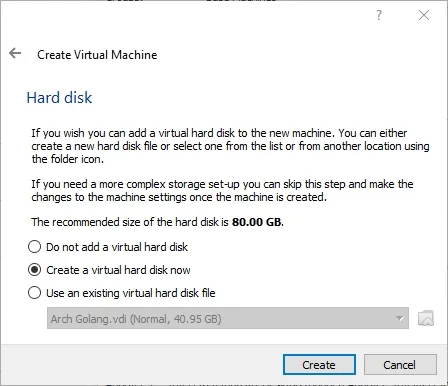
In the next screen, create a virtual hard disk.
Click Create
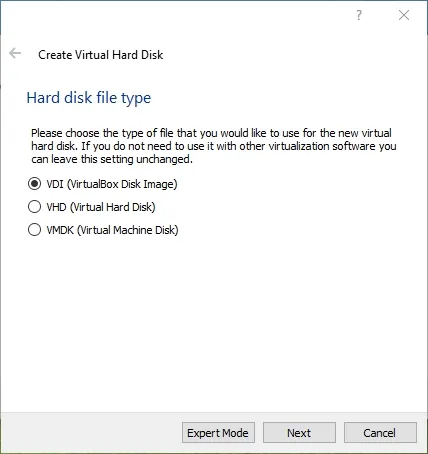
In this screen, select VirtualBox Disk image.
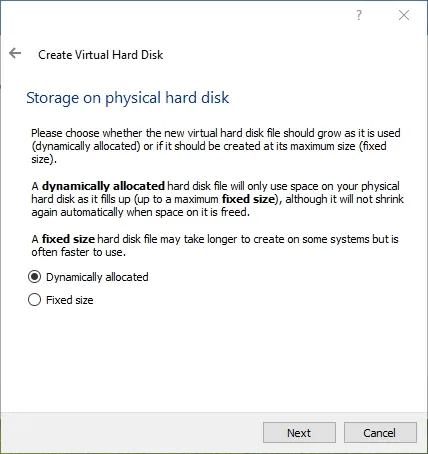
In this screen you can select Dynamically allocated or Fixed size. I generally go with Dynamically allocated to save disk space. For better performance, select fixed disk size.
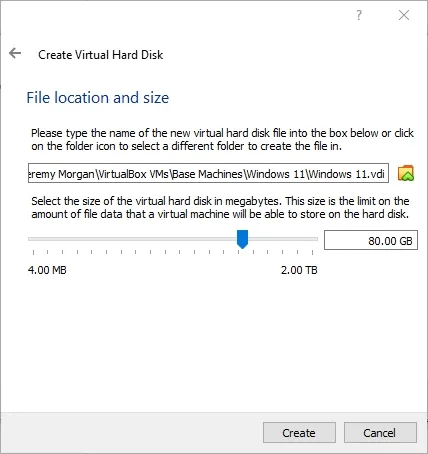
Allocate a size for the disk. You'll need at least 40GB for Windows 11.
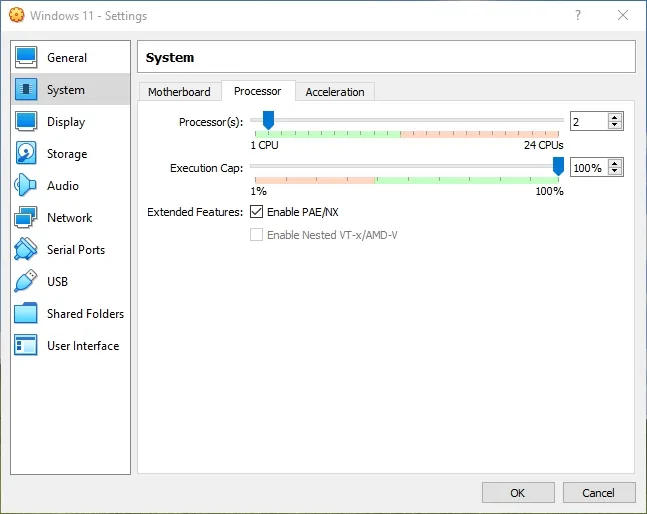
Now your machine is created, select Settings -> System -> Processor
And make sure to have at least two processors selected. Click OK.
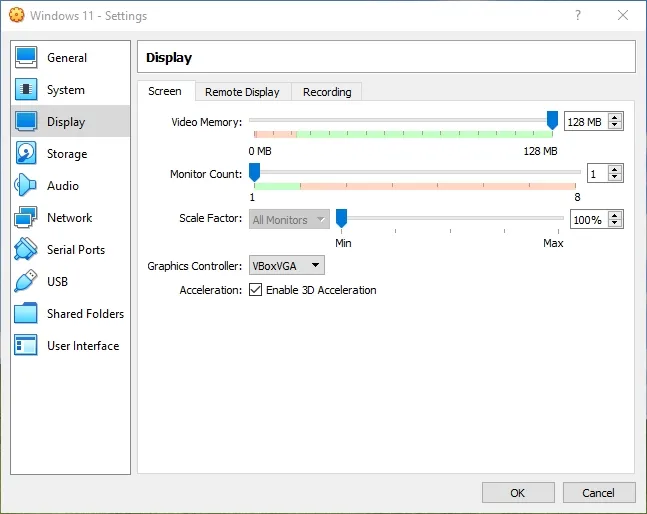
Under Display -> Screen make sure you enable 128MB of video memory, VBoxVGA is selected with Enable 3D Acceleration checked.
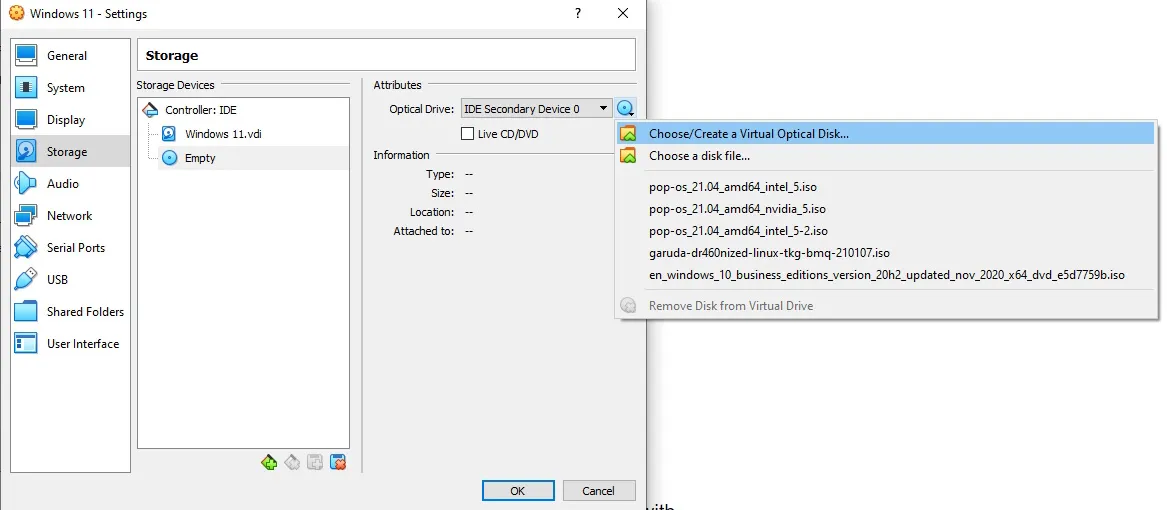
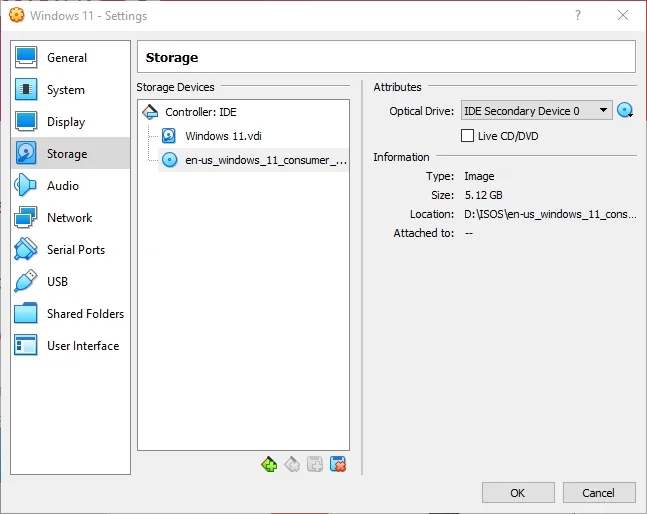
Under Storage add a new optical drive and select the Windows 11 ISO you downloaded earlier.
Now you're ready to go! Click OK to save your changes.
Starting up the Machine
Now your new Windows machine is ready to start. However, there is one thing you'll need to do right away.
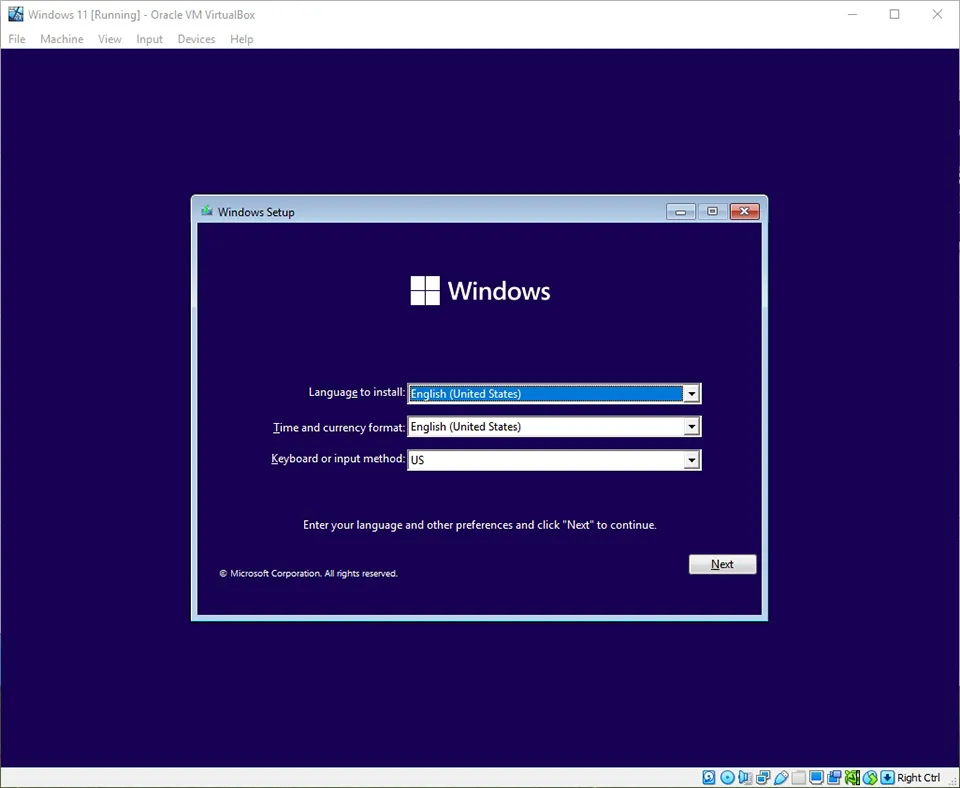
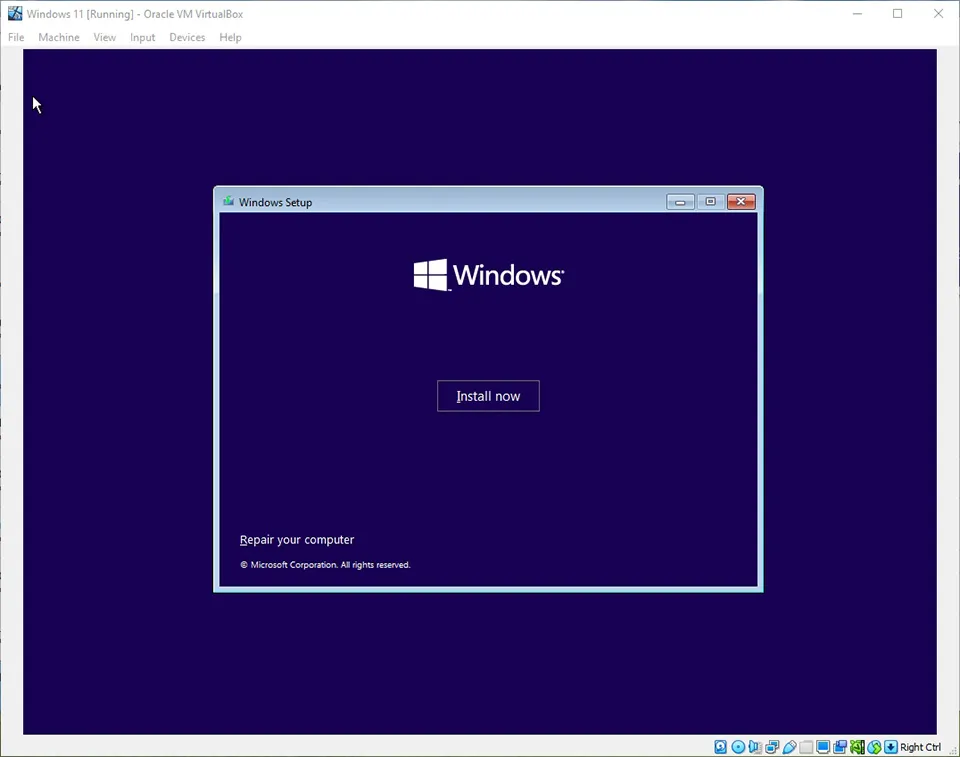
Click Next at this first window
Then Shift + F10 at this screen.
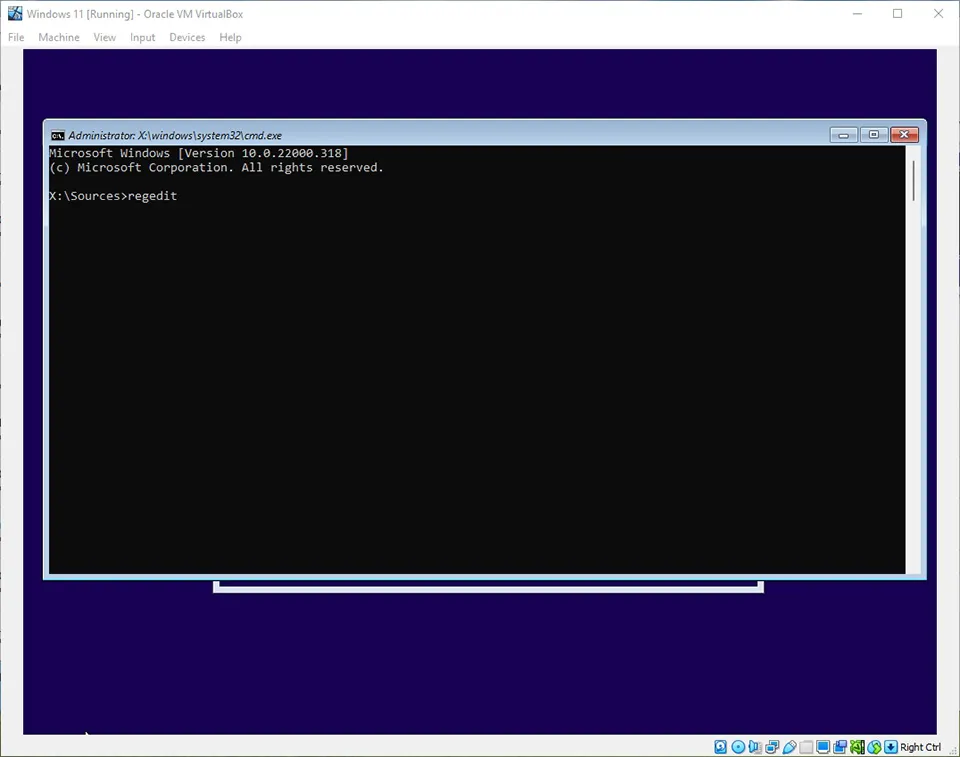
This will bring up a command prompt. Type regedit to bring up the registry editor.
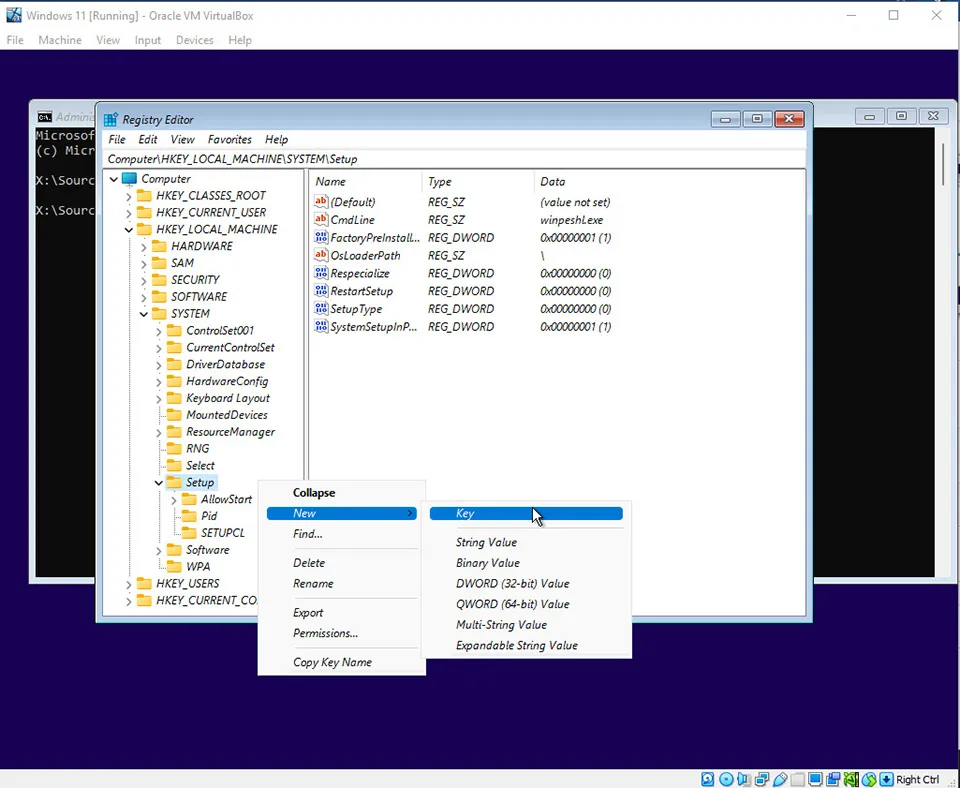
Browse to HKEY_LOCAL_MACHINE -> SYSTEM -> Setup and right click to create a new key. Name that key "LabConfig"
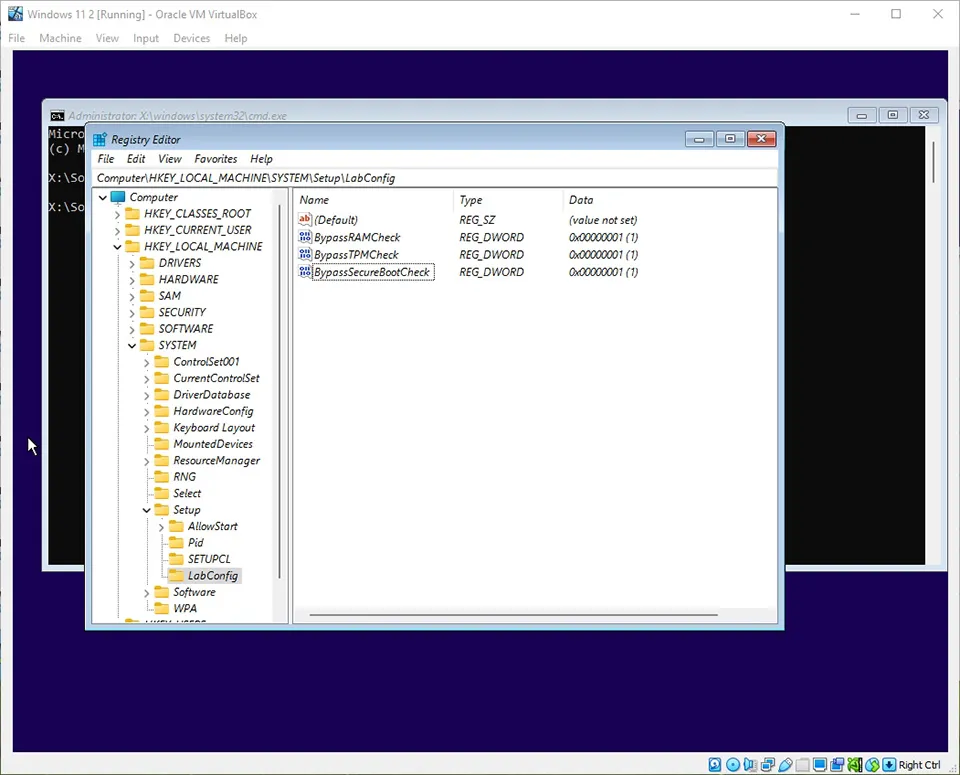
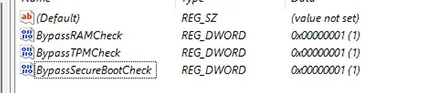
In that key, create three DWORD 32 Bit values and set them to "1":
- BypassTPMCheck
- BypassRAMCheck
- BypassSecureBootCheck
It should look like this.
Now close the Regedit window and click "Install Now."
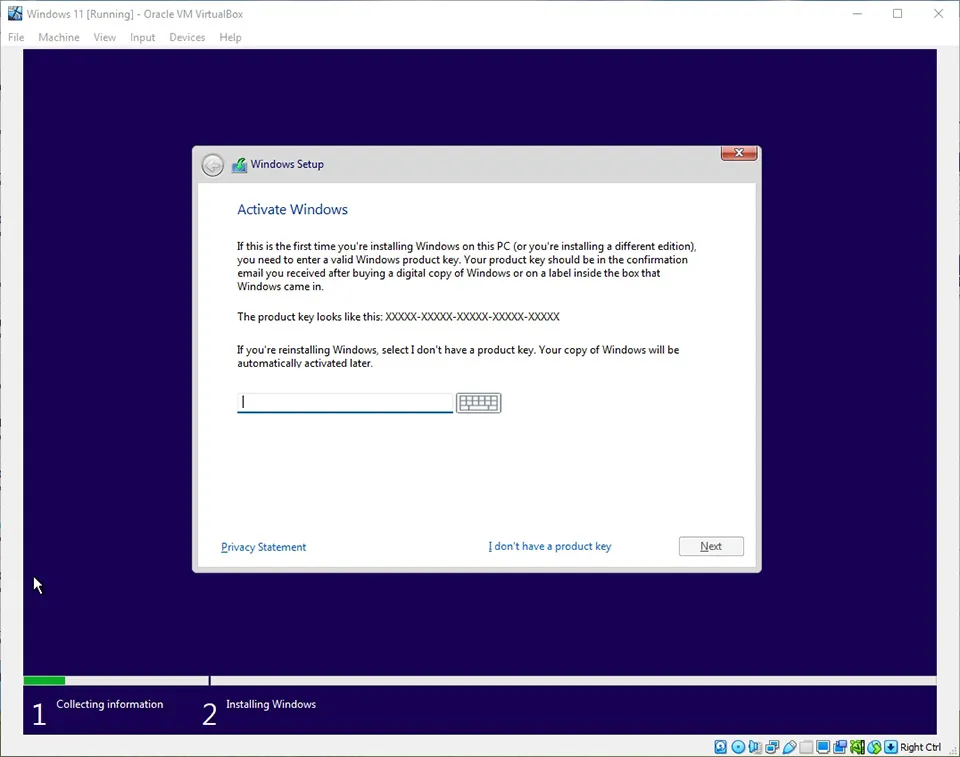
You can now install Windows 11 as you would on any other machine.
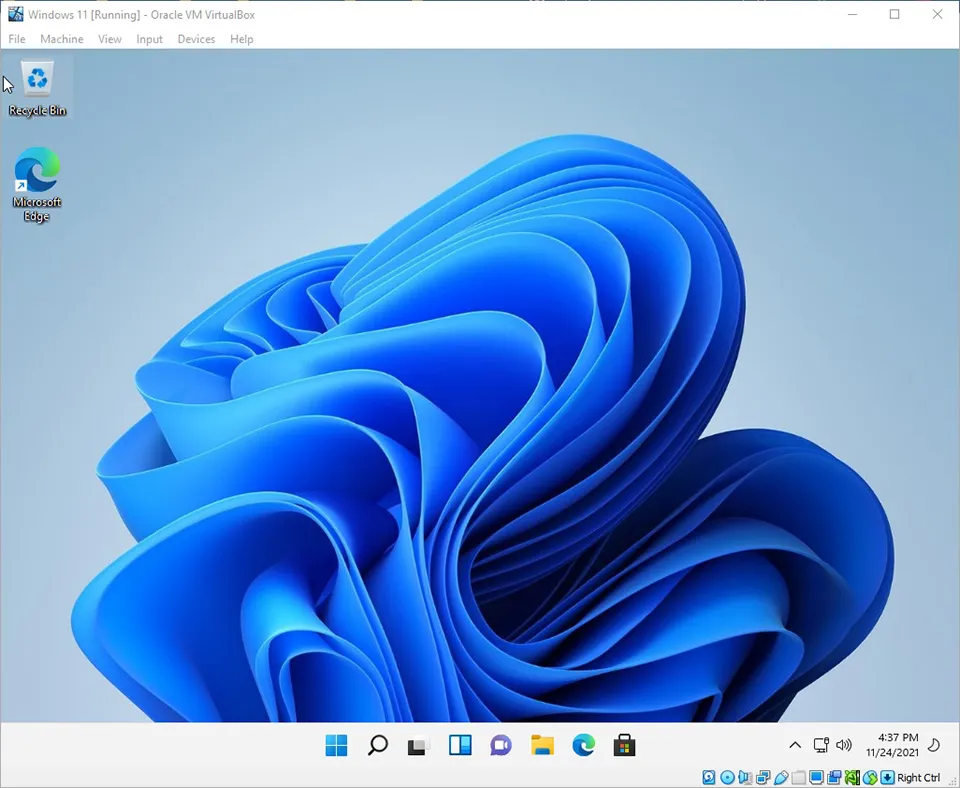
Now you're ready to go! It's up and running and ready to try out.
Conclusion
Jumping to a new operating system for your desktop is scary. It's always good to try things out, make sure you like the interface and your favorite applications run correctly. By installing things in a virtual machine, you can try things out and get a good feel for things before wiping your main computer and running it.


